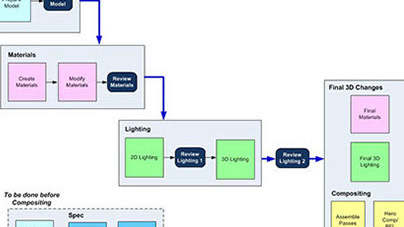
Off the back of the design in Part 1, the resulting pipeline was developed with Maya, Nuke and Photoshop using Mel and Python. The pipeline was a combination of automation, templates and libraries. It created around 6,000 final 4k highly detailed images per year. The number of 4K render passes required to generate those images was an order of magnitude many times greater than that number.
Some of the stages are illustrated in the images below.
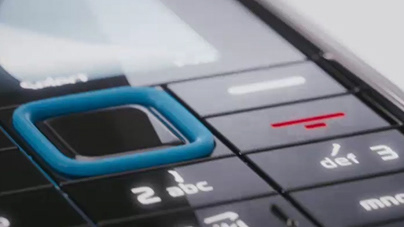
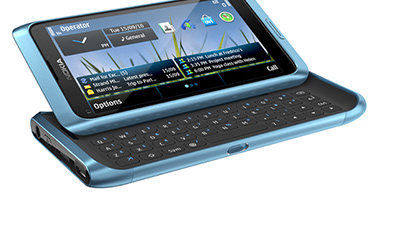
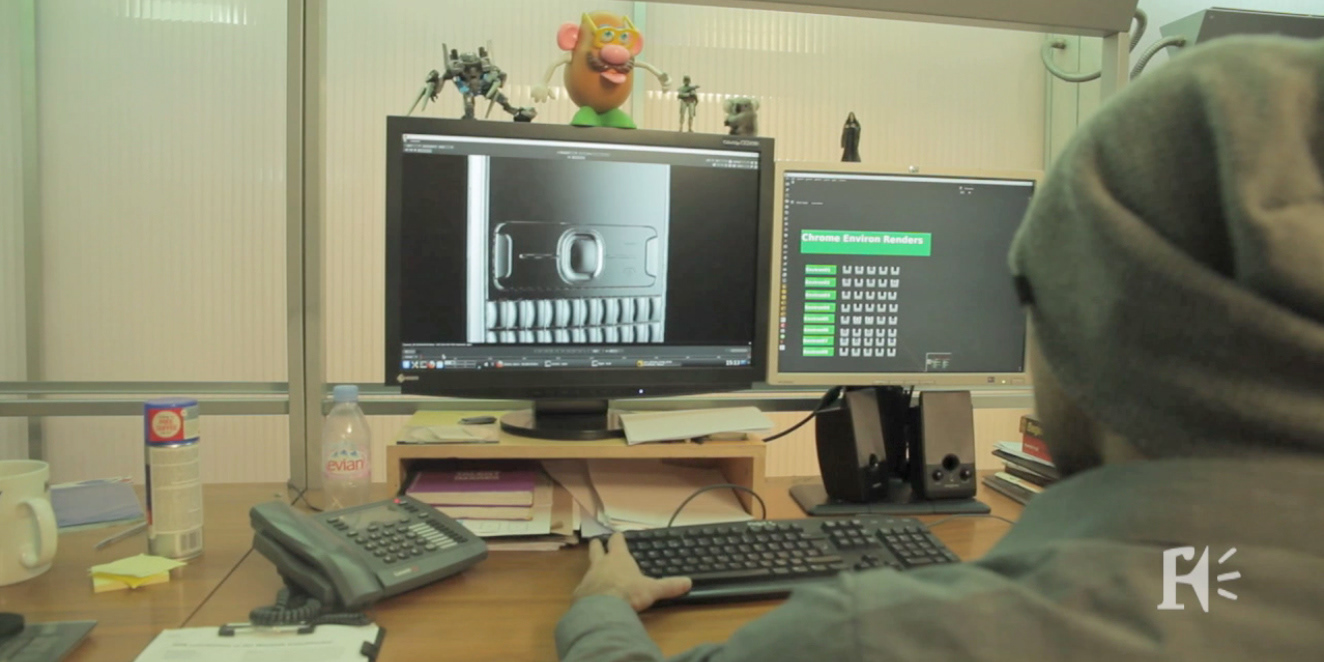
For each product we were visualising, we would have a physical model to study the form and materials.
The CAD data would be imported and checked. Often surface normals needed to be fixed, or there may have been issues with the geometry. This converts the CAD from curve data to polys.
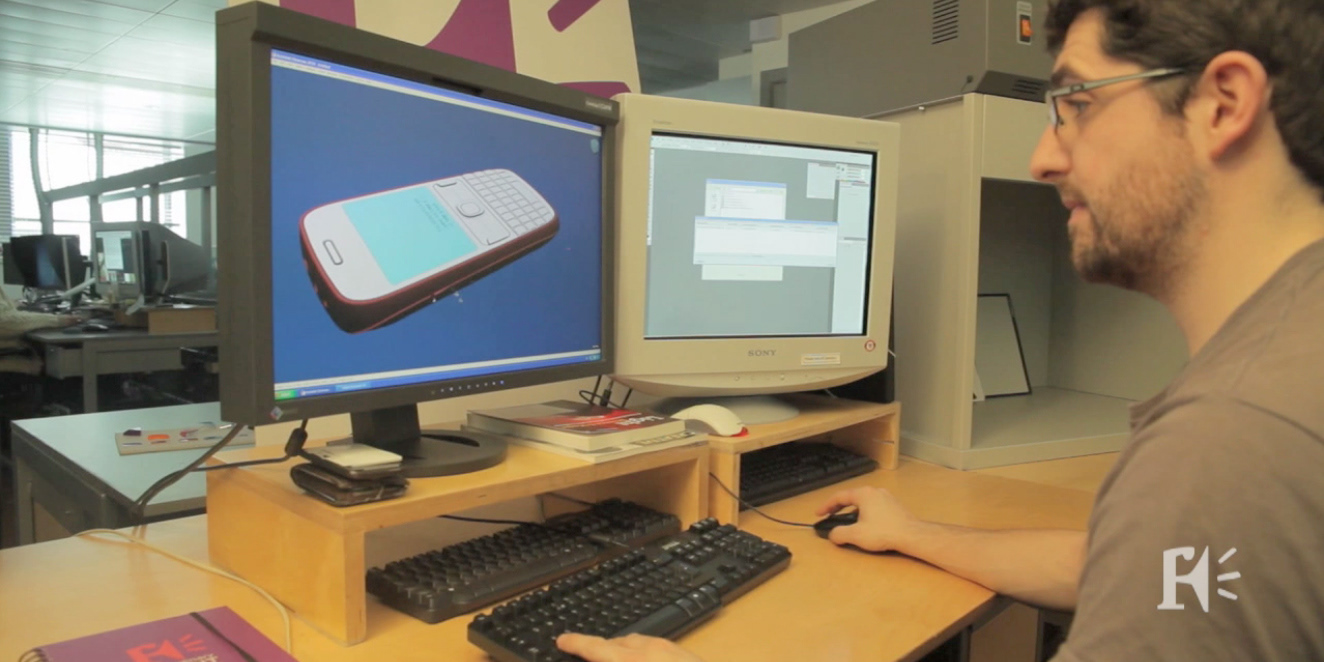
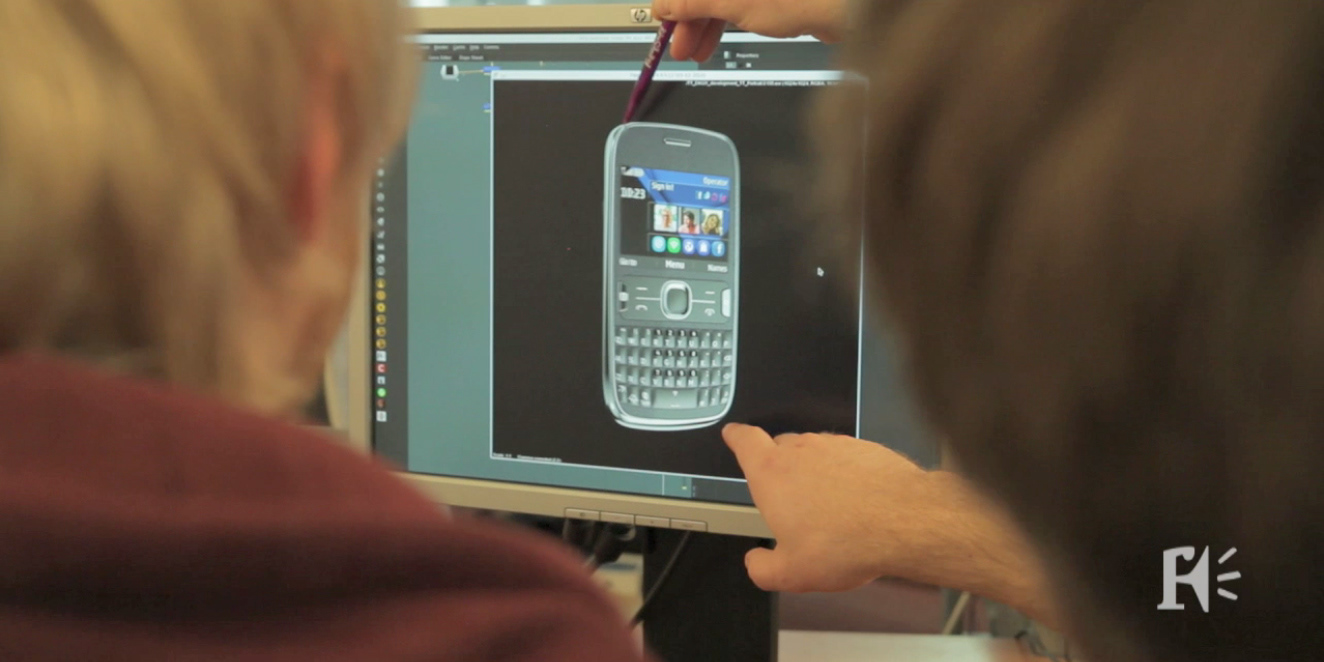
The imported and converted poly model is thoroughly check againt it's parts specification to make sure all the parts are there, and look correct.
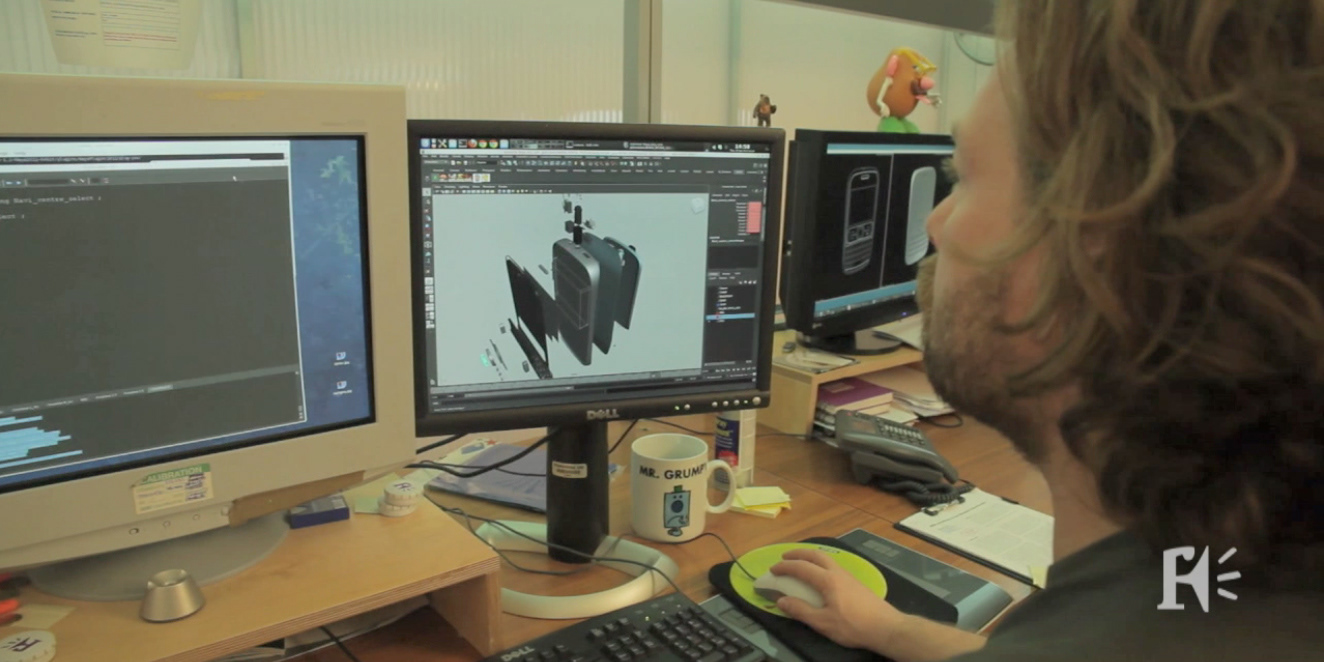
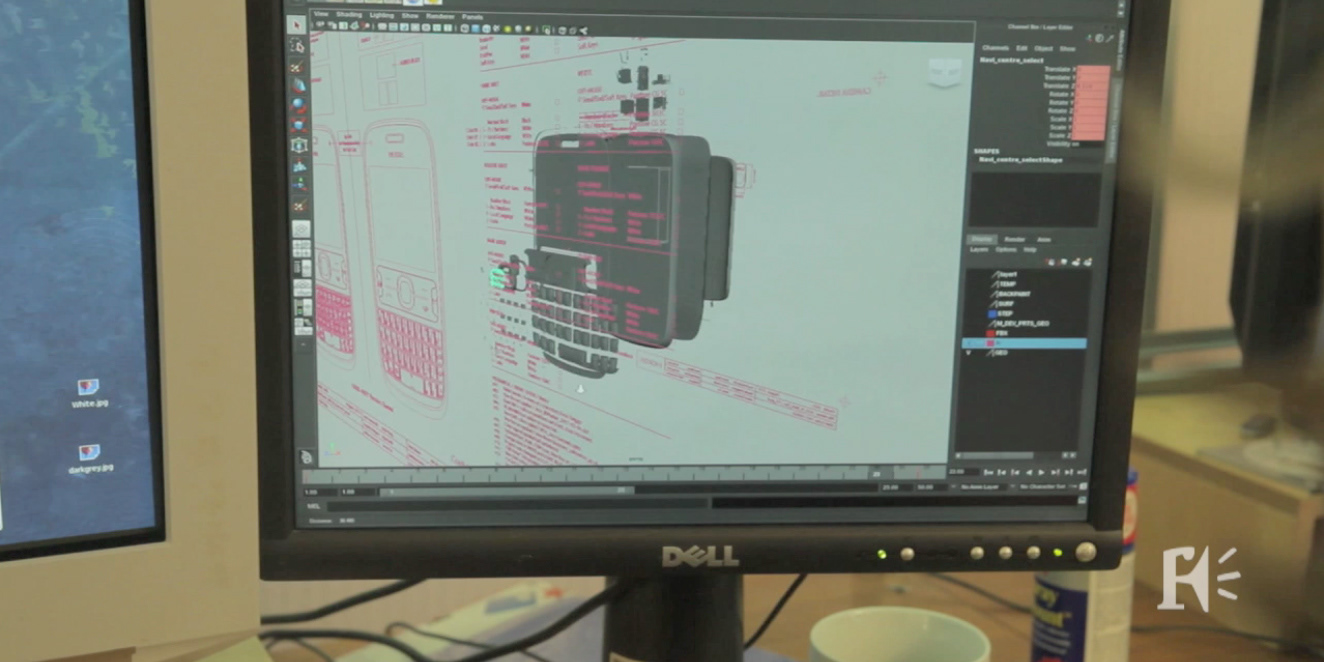
The model is then named and standardised to align with the workflow we use. Additional modelling fixes may be required at this point.
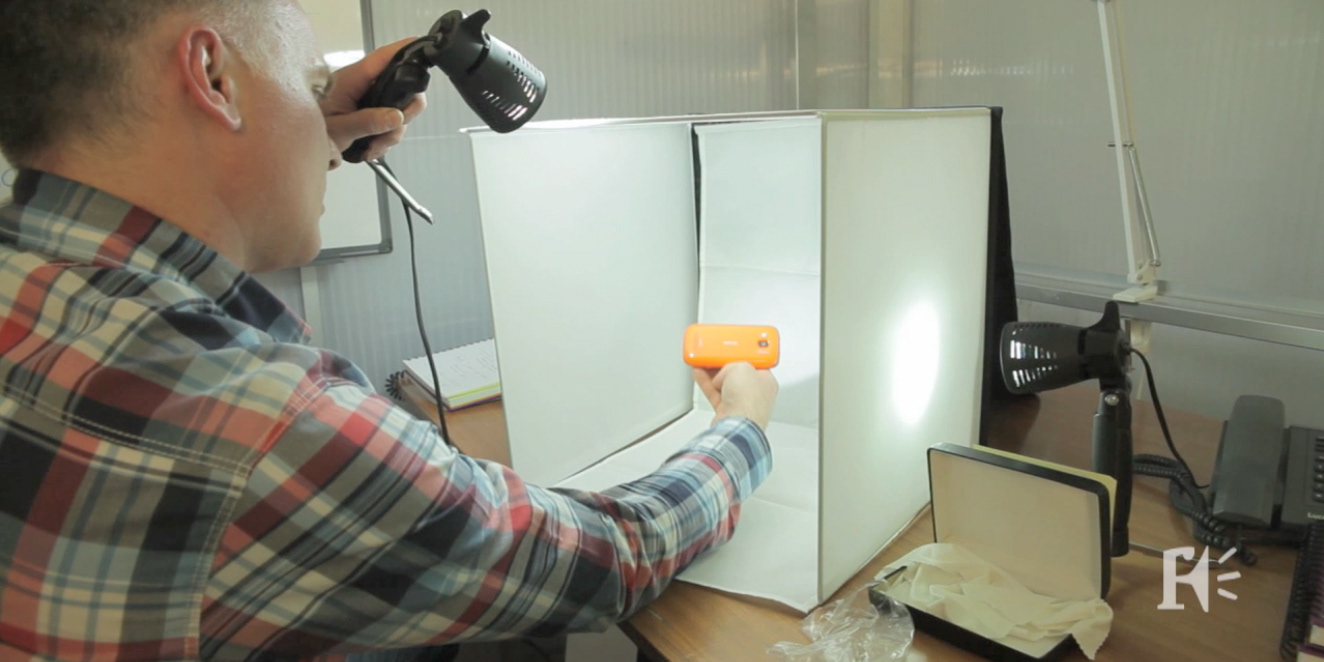
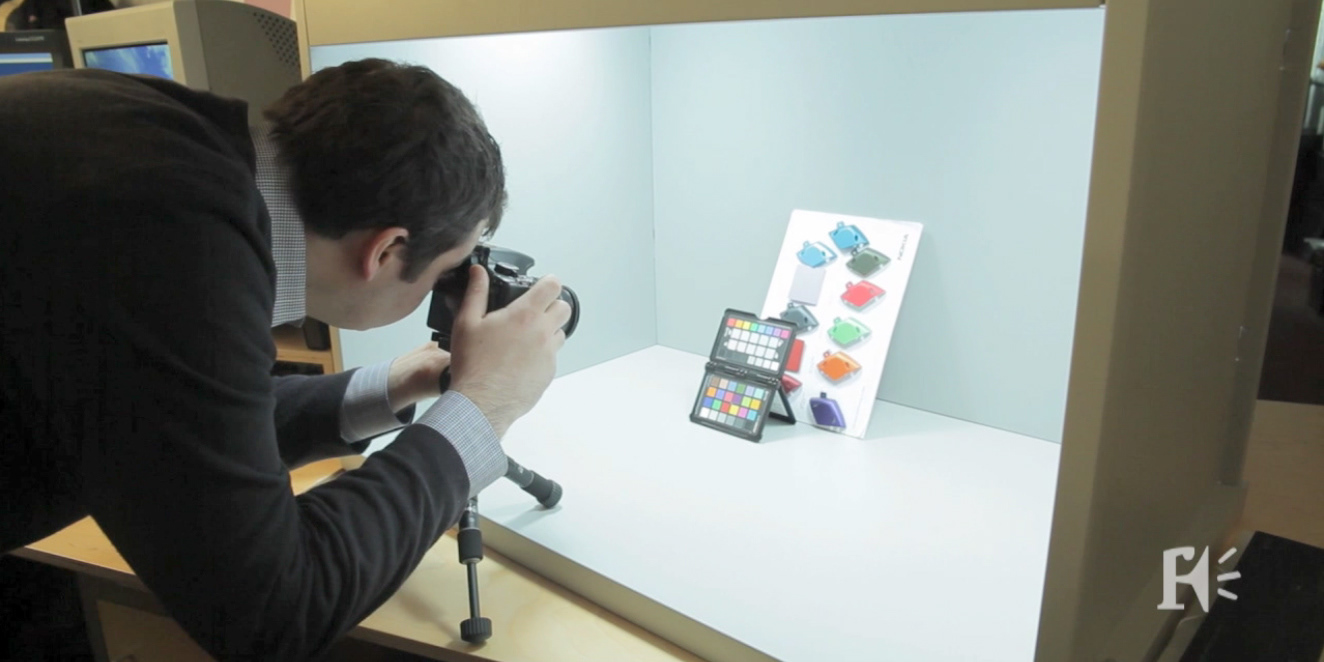
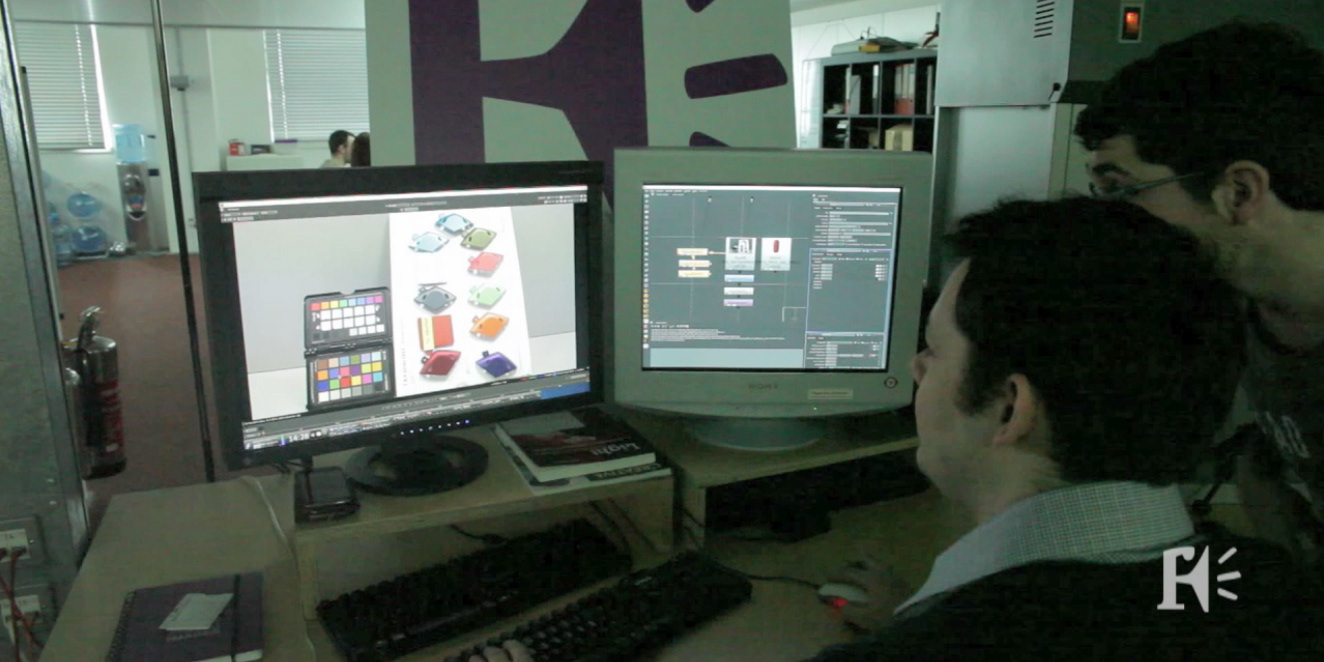
Each product has a number of colour variations. We receive physical colour samples of each material so we can replicate them in 3D. We use a physically correct lightbox that emits neutral D65 (65K) daylight to view and photograph them. The photographs are used to colour pick RGB values to use in the shaders.
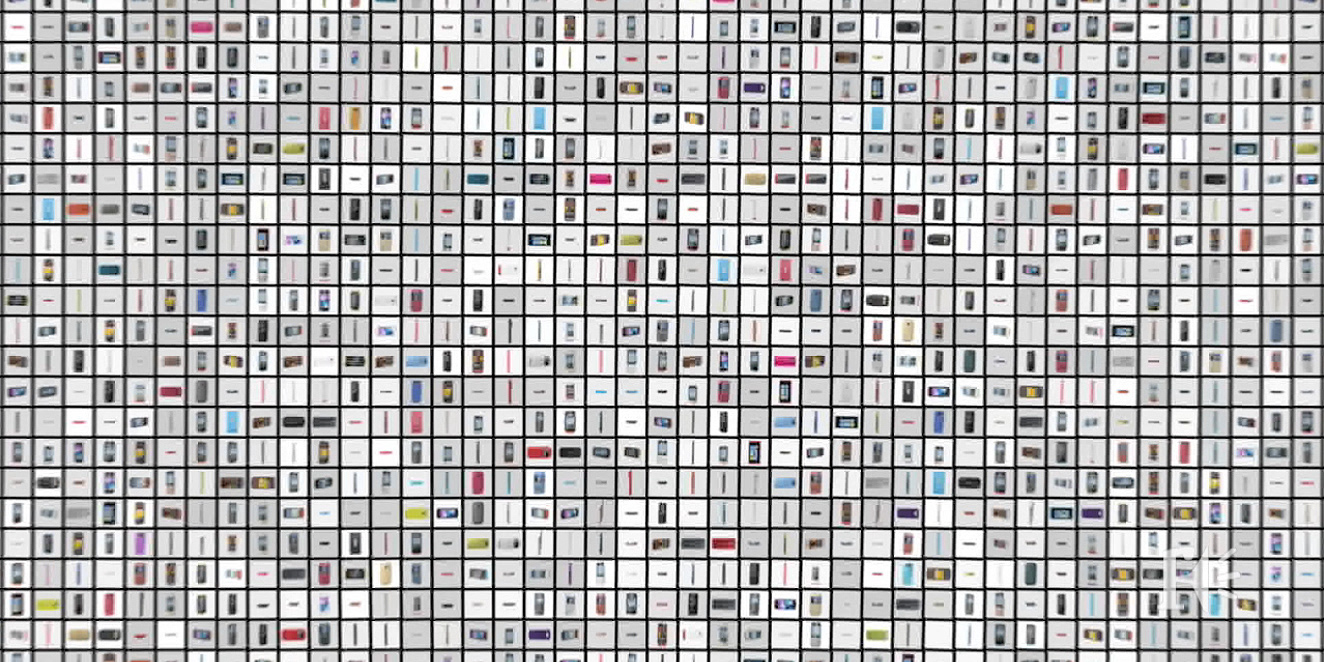
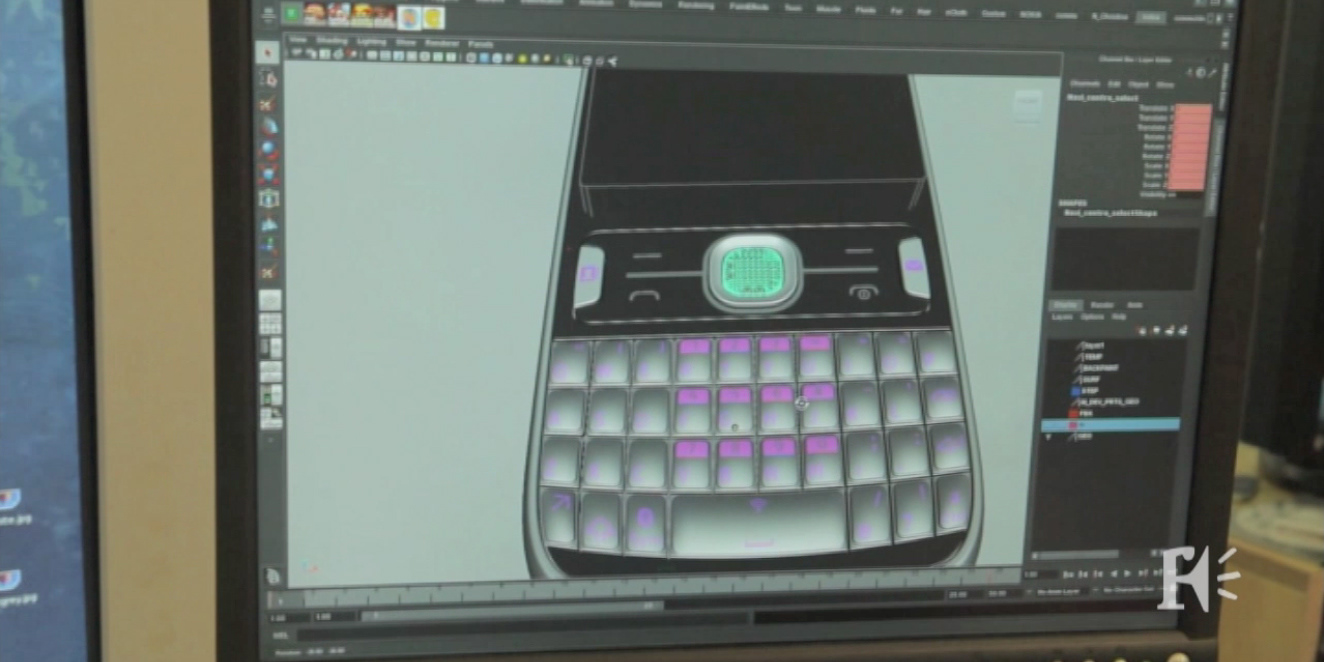
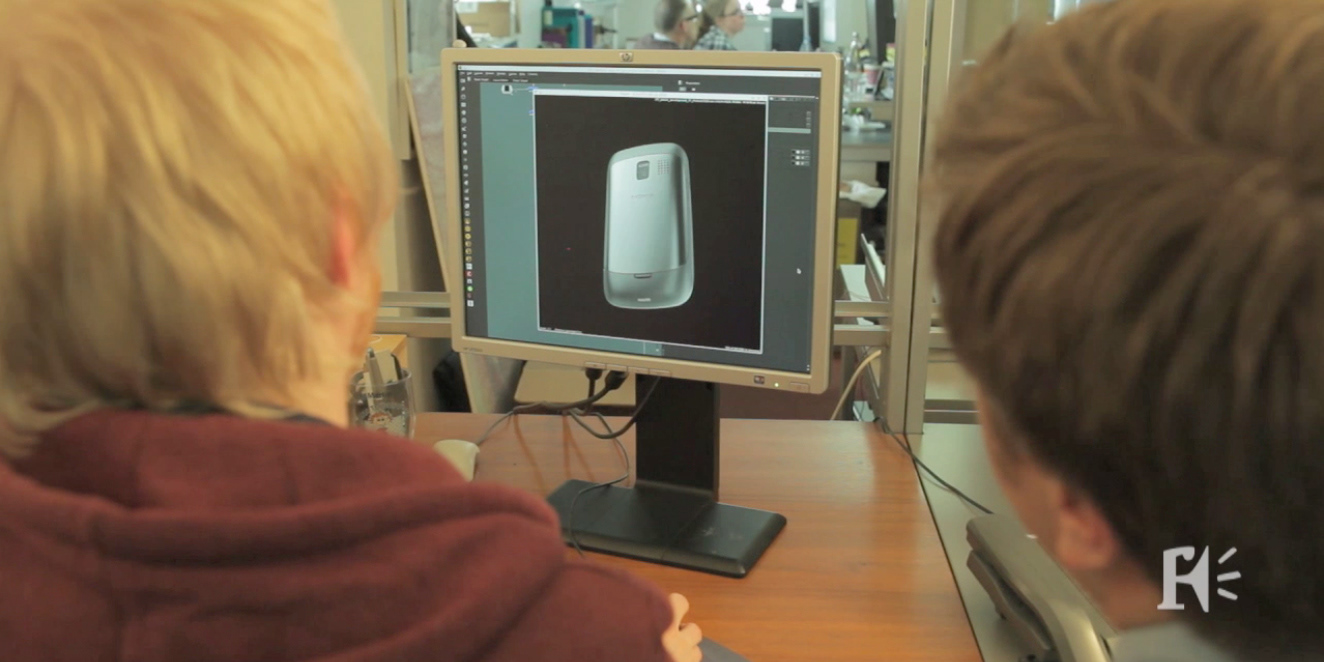
Here we are rendering 3D animated turntable images of the 3D product model with CG materials on. This is used to study the form of the model, compare the materials we have generated and study lighting approaches.
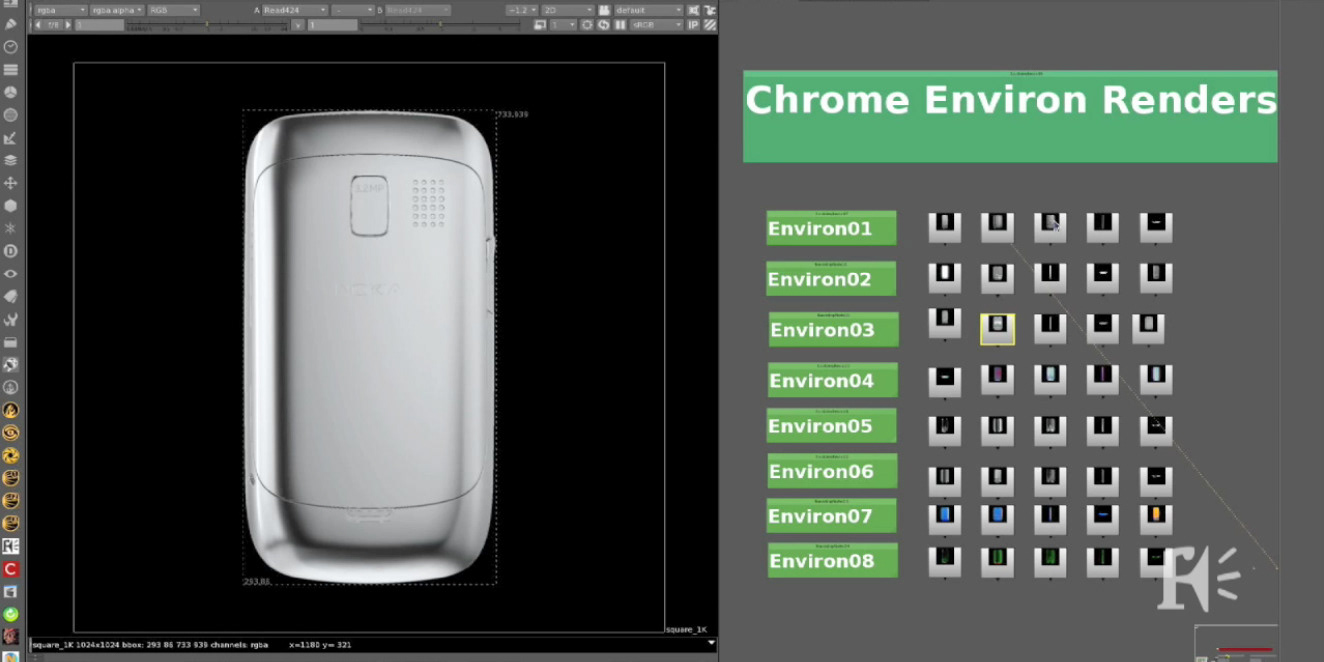
Lighting of the product is done in 2D in Nuke to give us a more real-time experience.
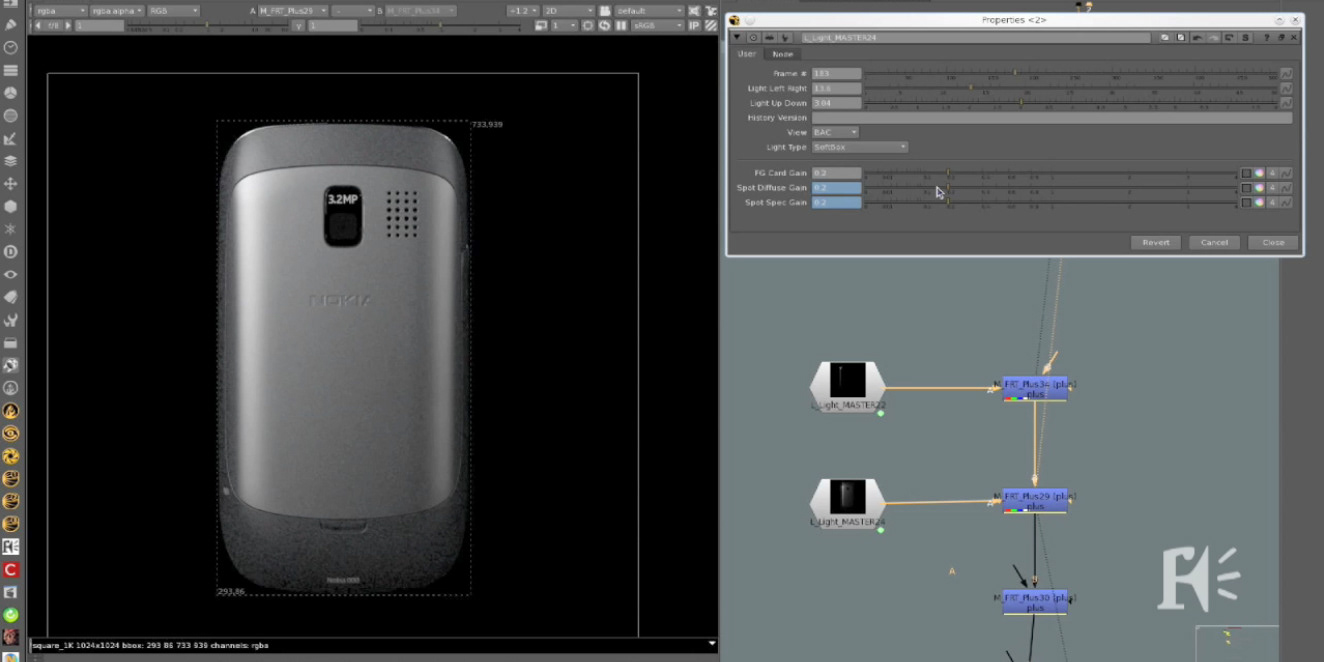
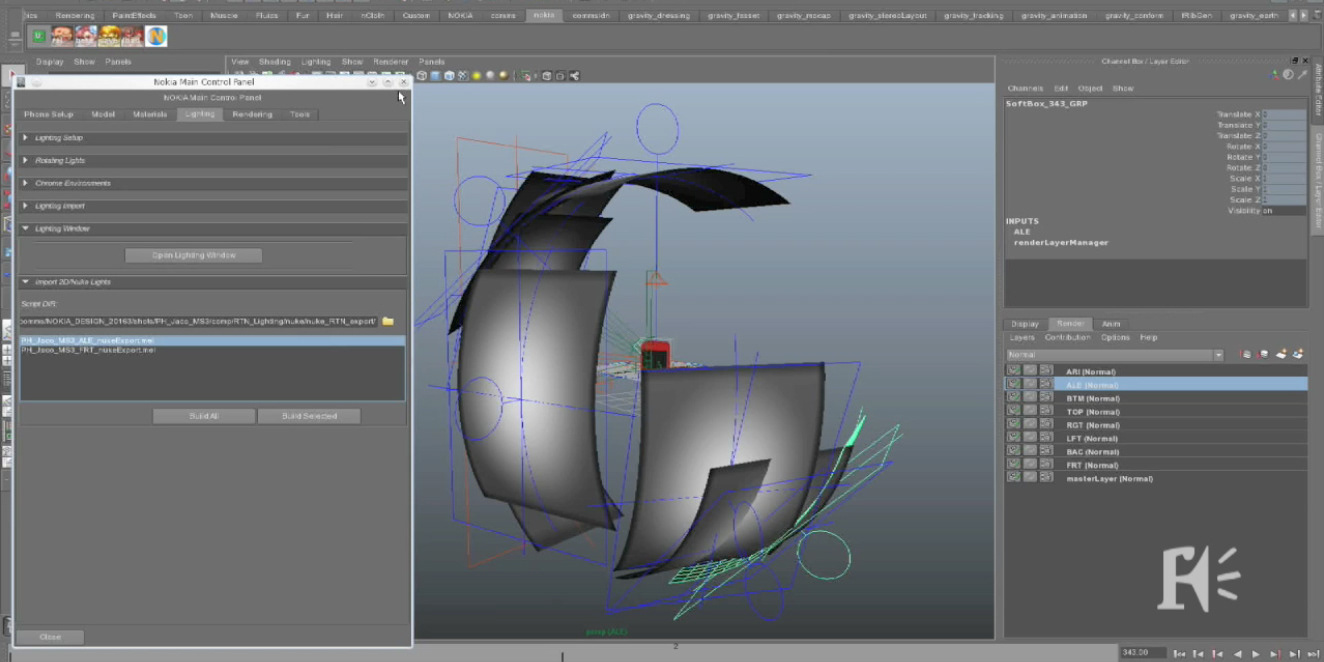
The 2D lighting is rebuilt in 3D at the press of a button.
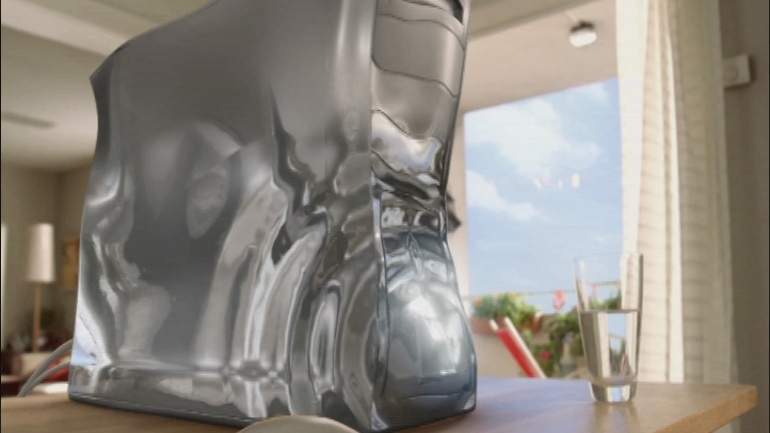
Chrome objects are lit using pre-rendered sequences of animated reflected environments
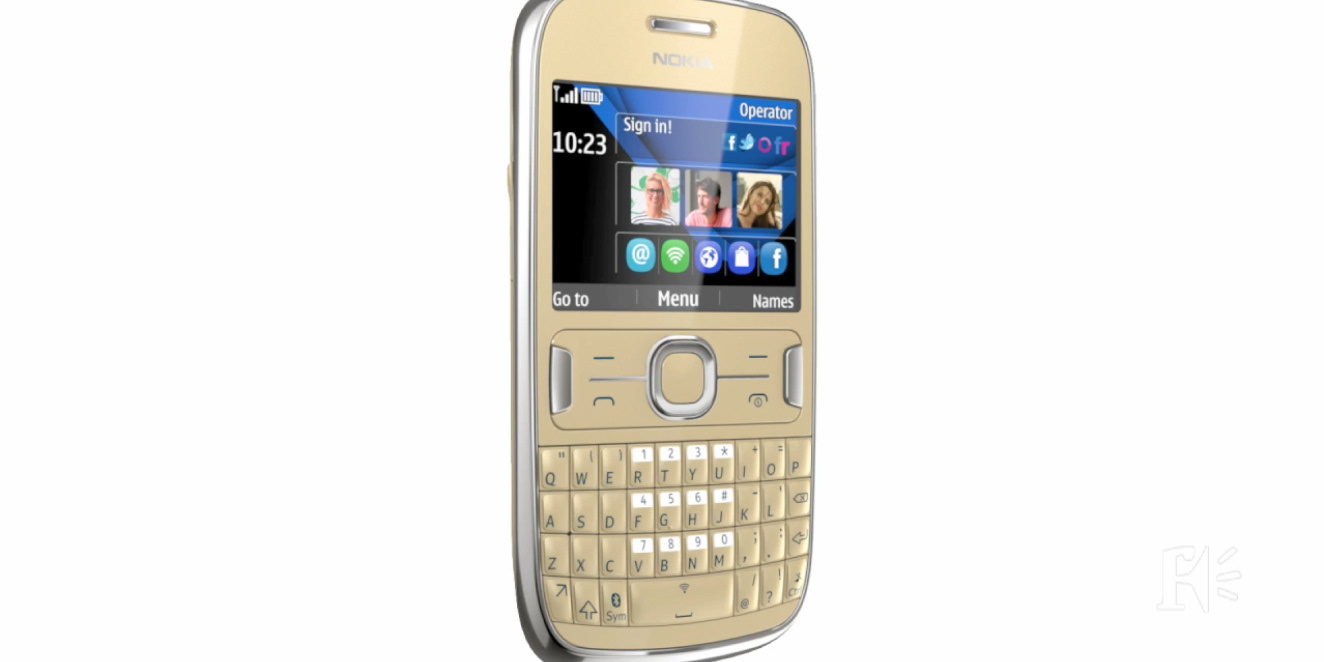
The final images are composited together in Nuke from 3D renders. There is a lot of re-use and Nuke allows us to work in a streamlined and organised way.
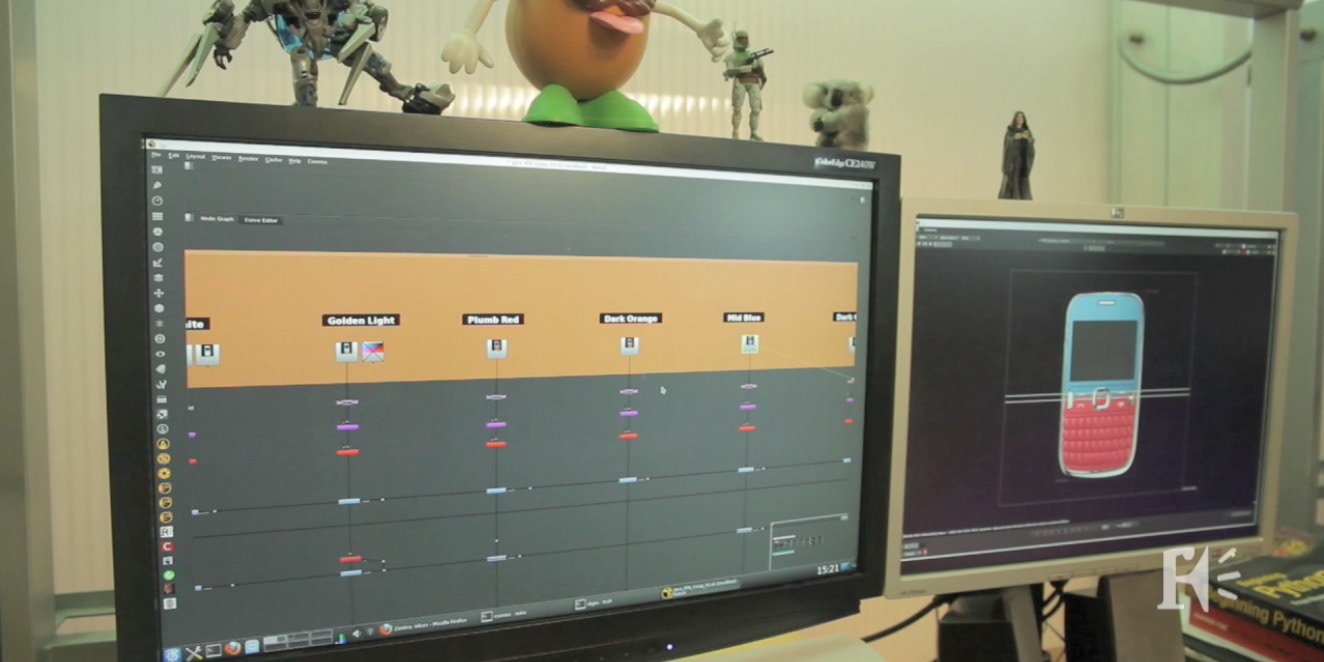
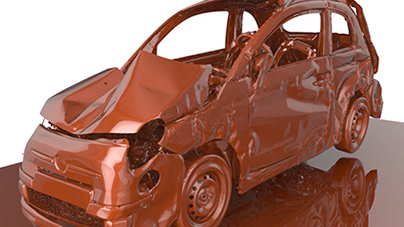
The 3D rendered passes are layered up to create a final image